The G&W Guide to… Ground-gas Protection Design
Geoenvironmental • Industry matters • Regulation
There are some great reasons why it is better to invest in a thorough Ground-gas Risk Assessment rather than going down the seemingly easier… “We’ll just go for ground-gas protection measures,” route. The main ones are cost, cost and cost!
Our guide to Ground-gas Risk Assessments highlighted how a poor risk assessment has the potential to add a huge amount of unnecessary cost to a development. If the risk assessment can minimise or rule out gas protection measures this is a win, win.
But the installation of gas protection measures to buildings is becoming a more common requirement across the construction industry. This is affecting a wider range of commercial and housing developments, given redevelopment of former industrial sites. So where gas protection measures are found to be the only option… You will face:
- A Ground-gas Design Report hoop to jump through.
- The material, installation and validation/verification costs associated with gas protection measures.
- The risk that the installation of the gas protection measures goes badly. Specifying the correct membrane and installing it is not easy, and you can inadvertently get it wrong.
In the event you must go for gas protection methods, what are the problems and pitfalls and how do you mitigate against them?
Ground-gas Protection Design
In most contaminated land reports, a generic assessment looking the conceptual site model, Gas Screening Values and broad development proposals will be undertaken; with a generic points systems adopted depending on the Characteristic Situation and Building Type.
However, Ground-gas Design needs more than this. A Ground-gas Design report is highly likely to be requested. It acts as a bridge between the generic risk assessment and what is built onsite.
It fits the Characteristic Situation to what you are actually going to build. It looks at how protection will be achieved given the floor construction; what type of membrane is required; how it is going to be installed and how the installation will be verified/inspected.
Sadly, there are lots of different types of membranes on the market (all with some sort of certification) but you need to specify the membrane which is suitable for the risk assessed.
And remember, just because it has a certificate, it doesn’t mean the quality of its manufacture is fit for purpose. Unfortunately, some specifications you will come across are just not up to scratch.

Problems During Installation
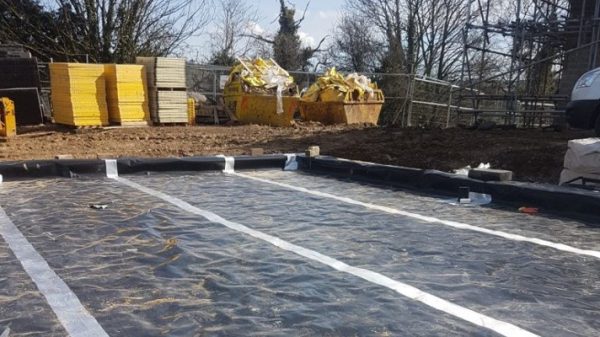
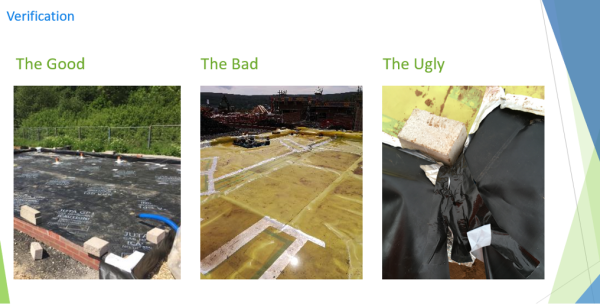
Ground & Water regularly carries out validation/verification on installed gas protection measures. It is during installation that most problems are created. These are the biggest issues we see:
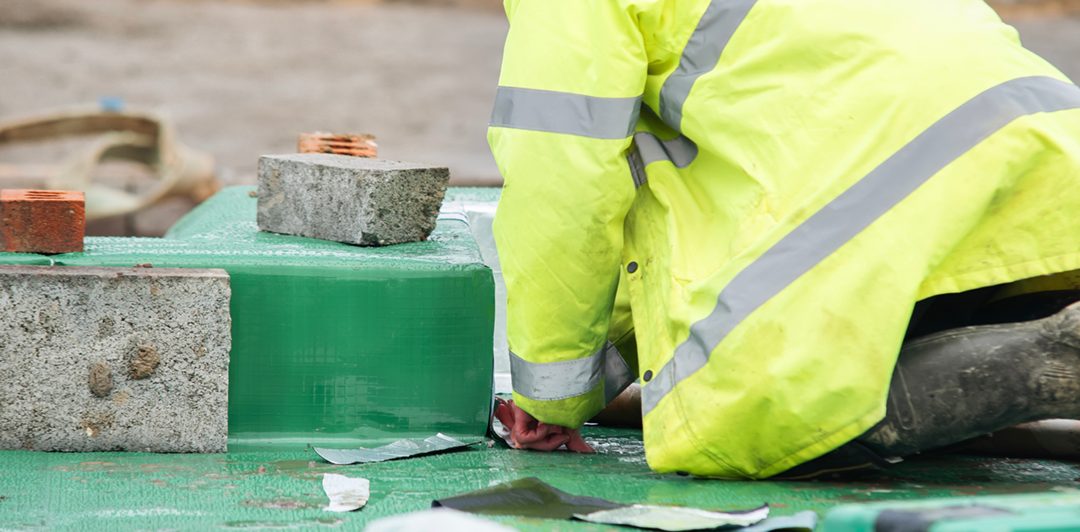
- Installer qualifications – The installers did not have the correct qualification to install the protection measures. CIRA C735 recommends NVQ Level 2 in Gas Membrane Installation.
- There was no third-party review – Is the risk such, that you need a third party to oversee/verify the installation?
- Wrong specification of membrane – The membrane did not protect against the gas identified to the correct level.
- Damage during installation – The installation technique was so poor that the membrane was holed and ripped while being laid.
- Speed of construction makes proper inspection impossible – The floor is screeded or brickwork built up so that the DPC, membrane or cavity can’t be seen and inspected.
NOTE: If any part of installation is wrong, then the protection fails. You are then back to risk assessing the issue away. Which is more time and cost.

Ground & Water’s Ten Top Tips
Our main watch points for membrane installation and verification are as follows. Get these right and the measures have a good chance of gaining sign-off:
- Ensure that the membrane is correct for the application it’s being used for. This is especially key for membranes which are protecting against volatile vapours. Sadly, just because it has a certificate doesn’t mean its correct.
- Match the DPC and floor membrane.
- Follow the detailed drawings. (Ground-gas Design Report required)
- Ensure the base the membrane is laid on is clean and free from dust/debris.
- Ensure services and corners are built appropriately, with the correct manufactured/brought equipment (top hats etc.).
- Ensure minimal creases throughout the plot.
- Dry off areas with a towel where adhesive tape is being stuck.
- Use the correct adhesive/tape to match the membrane/DPC and risk.
- Allow adequate time for the inspection and sign off. You won’t achieve this if you put yourself in the position where the floor screeding contractor is breathing down your neck!
- If you are in doubt about any of the above, seek expert advice and consider engaging the services of an accredited installer. Ground & Water can help with this.
