How to get your site to drain to soakaways…. efficiently
Cutting corners can be tempting but there’s always a chance that it will cost more in the long run. Fran talks through how to do things by the book, and why that’s probably for the best.
The drainage hierarchy I believe (I’m no civil engineer) suggests you need to look at soakaways first, and then if they don’t work, move on to other options.
But did you know that soakaway tests are often done in such a poor manner that they generally underestimate the soakaway potential of the ground, and therefore make soakaways bigger, need more attenuation, and often send sites down alternative paths when natural infiltration systems could be adopted?
However, this is not about fiddling with the numbers to fit the site, it’s about getting the scheme to fit the geology.
Please note we are not talking about sites on clay or silt, or even silty sands, which just don’t drain. Once you know this, stop, and move on. However, there is scope for betterment on-site where infiltration is a possibility.
I know that legislation can be a pain in the arse, but in reality, current guidance is based on the historic mistakes of others and provides best practice to get the best out of something.
This is why recently I went back and reviewed BRE365, the guidance document for infiltration testing.
One sentence immediately struck home:
Scrimping and saving on BRE365 tests may underestimate infiltration rates and negatively affect the drainage strategy.
I initially thought tosh.. so decided to have a look.
The first point the document makes is that the location and extent of testing should be thought about with the ground model in mind. This makes total sense.
- No point in having an invert level which is in groundwater
- No point having one soakaway test should the geology be variable.
- No point testing a back garden where clay is anticipated when the next door may have gravel.
- No point digging through gravel into sand just because the invert level tells you so.
- No point in testing at 2.5m when it’s for porous paving.
Dig a big pit: Ok, so this may mean bigger machinery and more time, but it also means more surface area, more pour spaces, and less likelihood of silting up.
Fill the pit up with lots of water: Ok, again means bigger kit. But the bigger the driving head of water in the test the faster the infiltration rate.
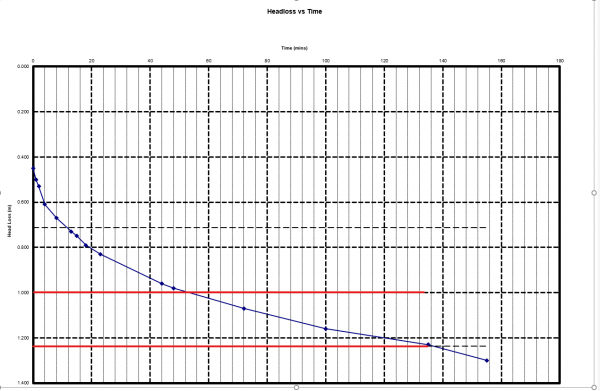
The graph below is of a real infiltration test. Imagine if I didn’t put a good amount of water in, we would only be measuring the bottom section of the graph (highlighted in blue). This gives an infiltration rate of 2 x 10 -5 m/sec. Now, in this instance, we put lots and lots of water in, we middle the middle half of the test and got a rate of 6 x 10 -5 m/sec. Imagine what this could do to your drainage design?
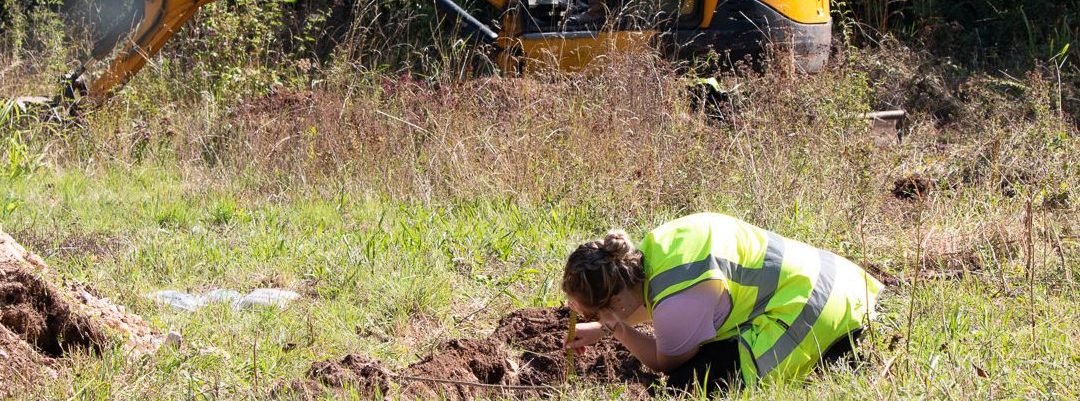
Ensure the site works are undertaken by a technically competent person: This isn’t just about ensuring H&S compliance, although it is very important. Deep voids filled with water are not the best things to have around the public…. or horses. However, someone with a geological brain really helps onsite. Looking at variation in geology and placing pits, looking at maximising the depth of the pit to get the best drainage without going too far and causing instability. It just helps to get that bit extra.
Convinced? Hopefully you are, that doing these sorts of tests properly can and will have a positive impact on your development. If you need BRE365 tests undertaken, then please give us a call.